Manage Rooms
The Manage Rooms module allows FMO Personnel to manage the list of rooms in the system. In this module, users can add new rooms, edit existing room information, delete rooms, view room details, and assign rooms to department owners.
This helps keep the room records organized and ensures that rooms are properly assigned to the responsible departments.
Required Permissions
Add Room - Allows the user to create and register a new room in the system.
Delete Room - Allows the user to remove a room record from the system.
Edit Room - Allows the user to modify or update the details of an existing room.
View Room - Allows the user to view the list and details of rooms available in the system.
How to Access the Module
To access the module, make sure you have the View Room permission. If it doesn’t appear in your portal, request access from your System Administrator.
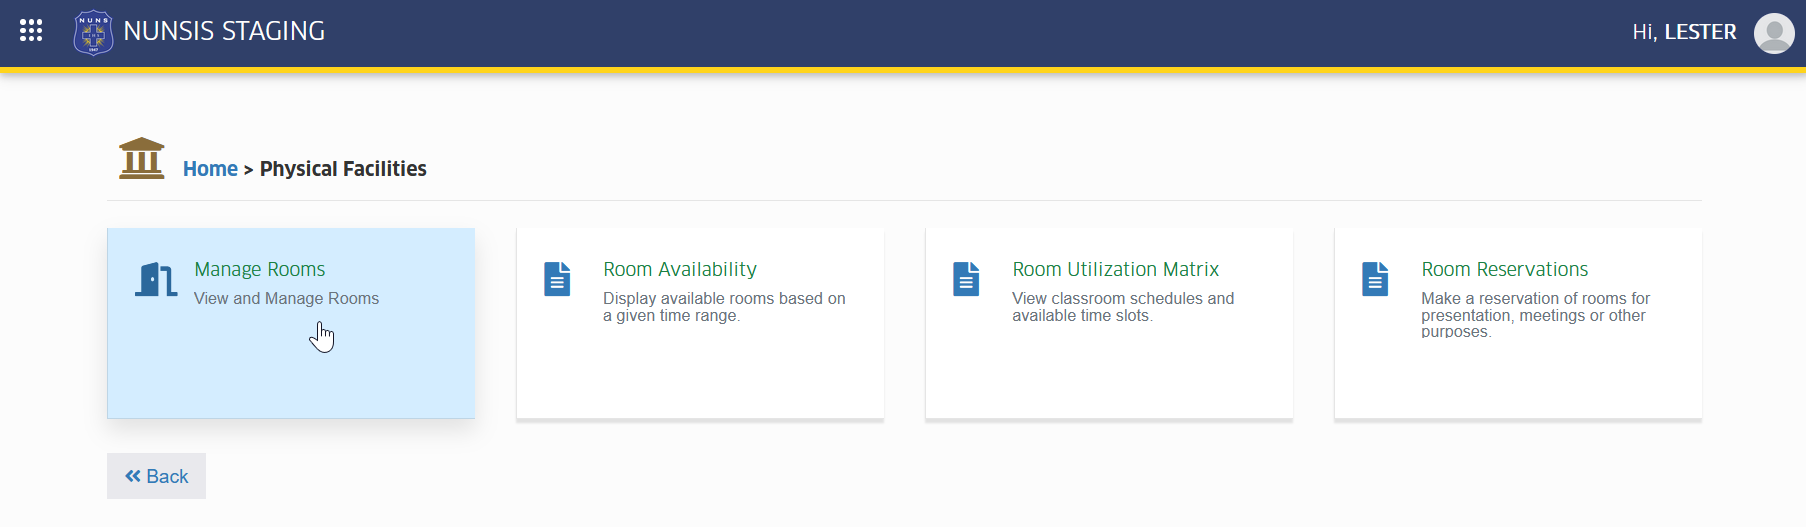
In NUNSIS portal, go to Physical Facilities > Manage Rooms. Click the module tab to redirect to the Rooms list view page.
How to Use the Module
This section provides step-by-step instructions on how to navigate and perform actions within the module. It guides users through the available functions to ensure tasks are completed properly and efficiently.
Add a Room
This section guides the user on how to add a new room to the system by entering the required room details and saving the record.
Follow the steps below to add new room record in the system.
STEP 1. On the Rooms list view page, locate and click the button. The system will redirect to Add Room page.
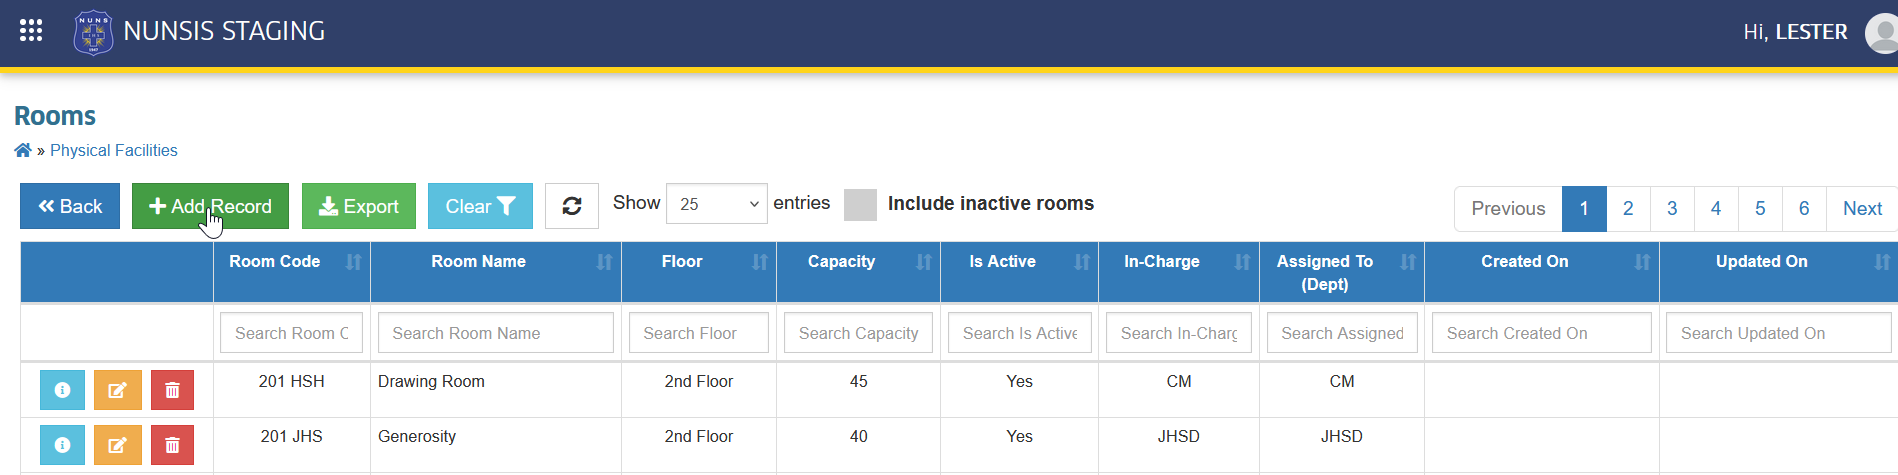
STEP 2. Fill out the required information in the page.
| Field Name | Description | Is Required |
|---|---|---|
| Room ID | A unique identifier or short code for the room. This helps easily distinguish it from other rooms in the system. | Yes |
| Room Name | The full name or label of the room, usually describing its purpose or location (e.g., Computer Lab 1, Lecture Room A). | Yes |
| Floor | Indicates the floor level or area where the room is located. | Yes |
| Capacity | Specifies the maximum number of people the room can accommodate. | Yes |
| Dept In-Charge | The department responsible for managing or maintaining the room. | Yes |
| Assigned to (Dept) | The department allowed to use the room for classes or other activities. This assignment reflects in class scheduling. | Yes |
| Is Active | Determines whether the room is currently available for use. If set to inactive, the room will not appear in room selection lists for scheduling. | Yes |
STEP 3. Once completed, click the button to submit and save the new record.
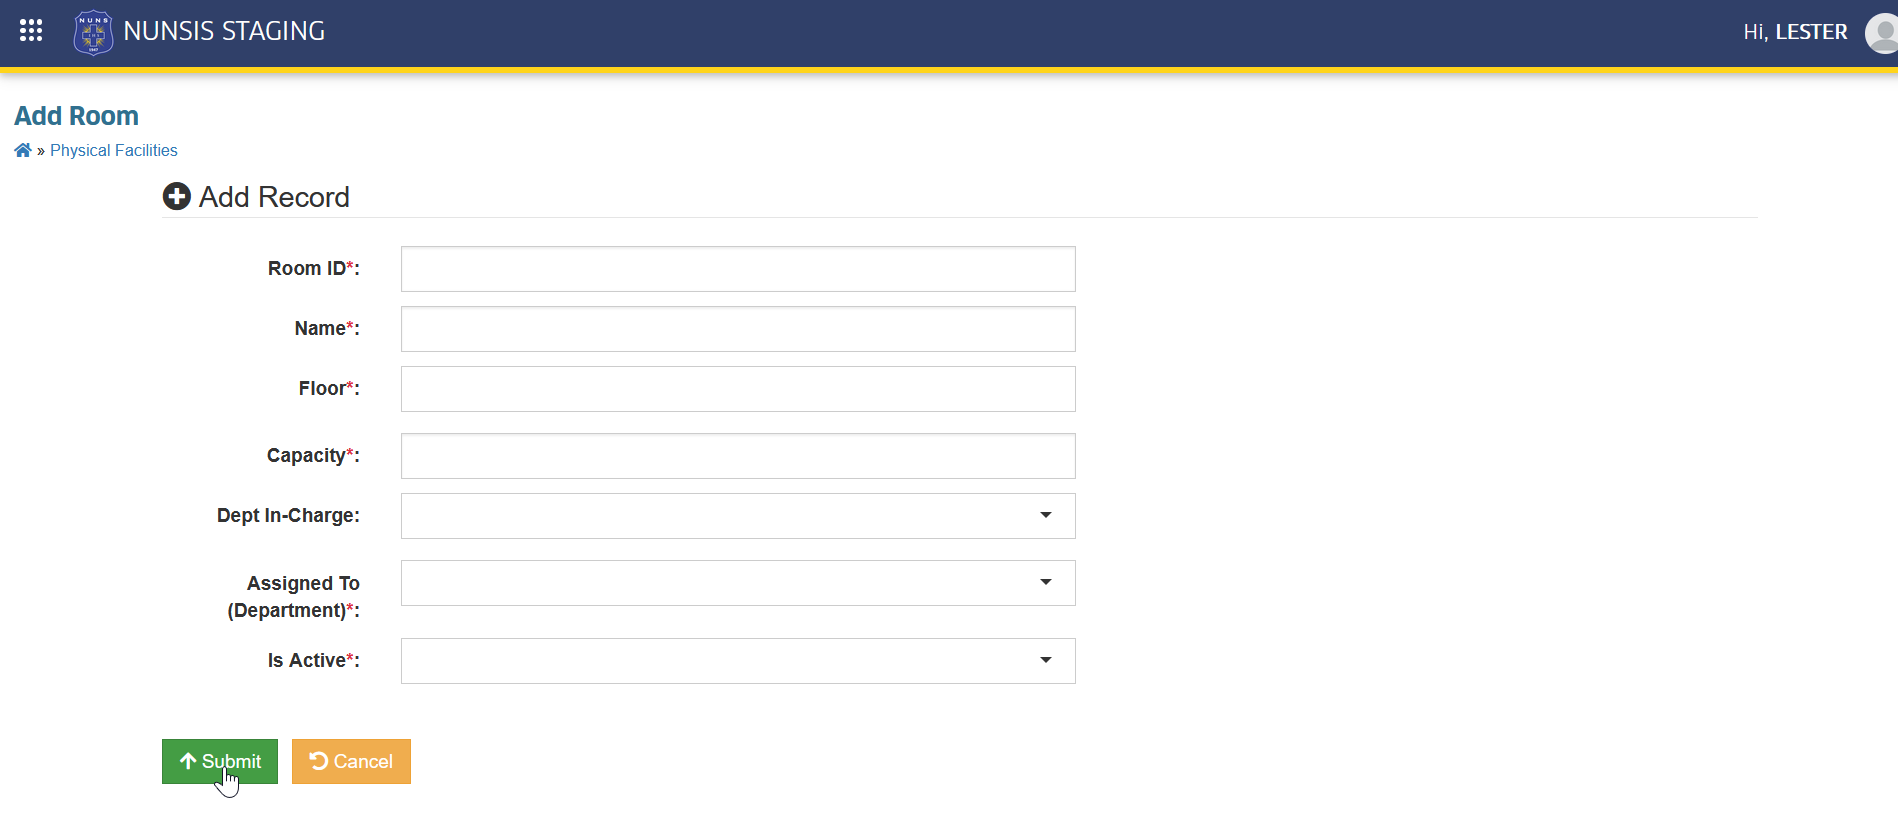
Once submitted the room record will now be available in the room listview page.
Edit a Room
This section explains how to update or modify the information of an existing room in the system.
Follow the step below to modify room record.
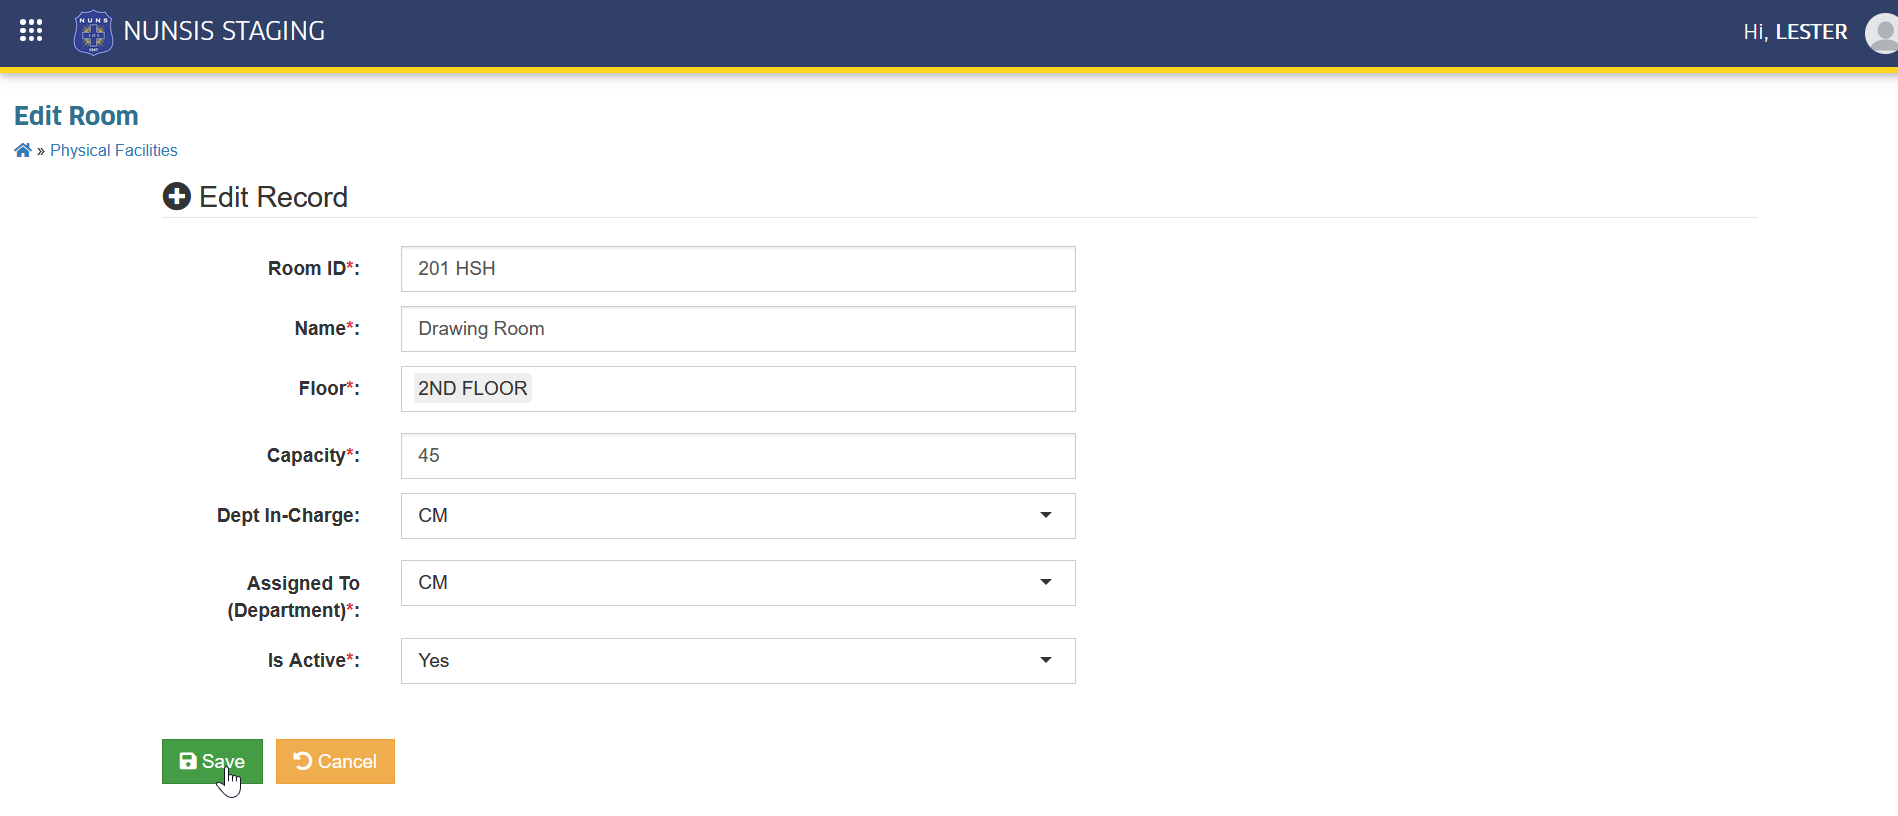
STEP 1. On the Rooms page, click the corresponding button of the record to update. The system will redirect to Edit Room page.
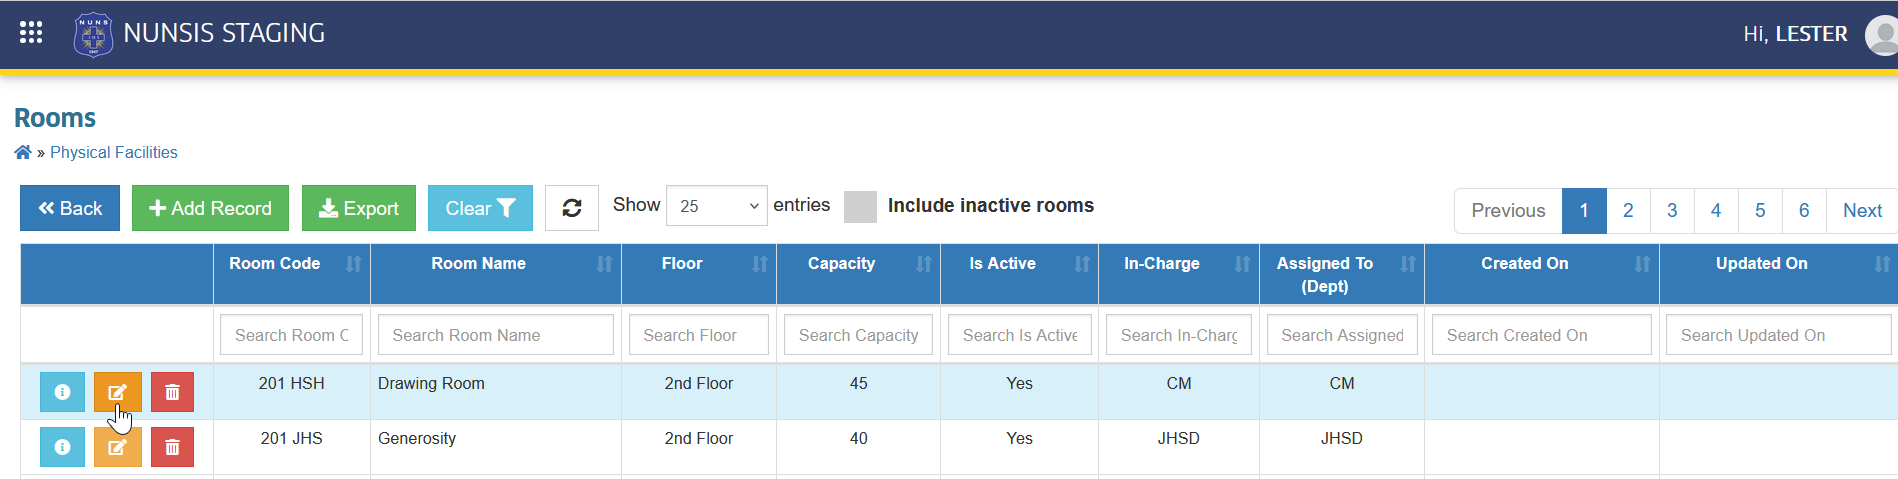
STEP 2. On the Edit Room page, update the necessary information. The, click the button to apply the changes.
Delete Room
This section provides instructions on how to remove a room record from the system.
Follow the steps below to remove a room record.
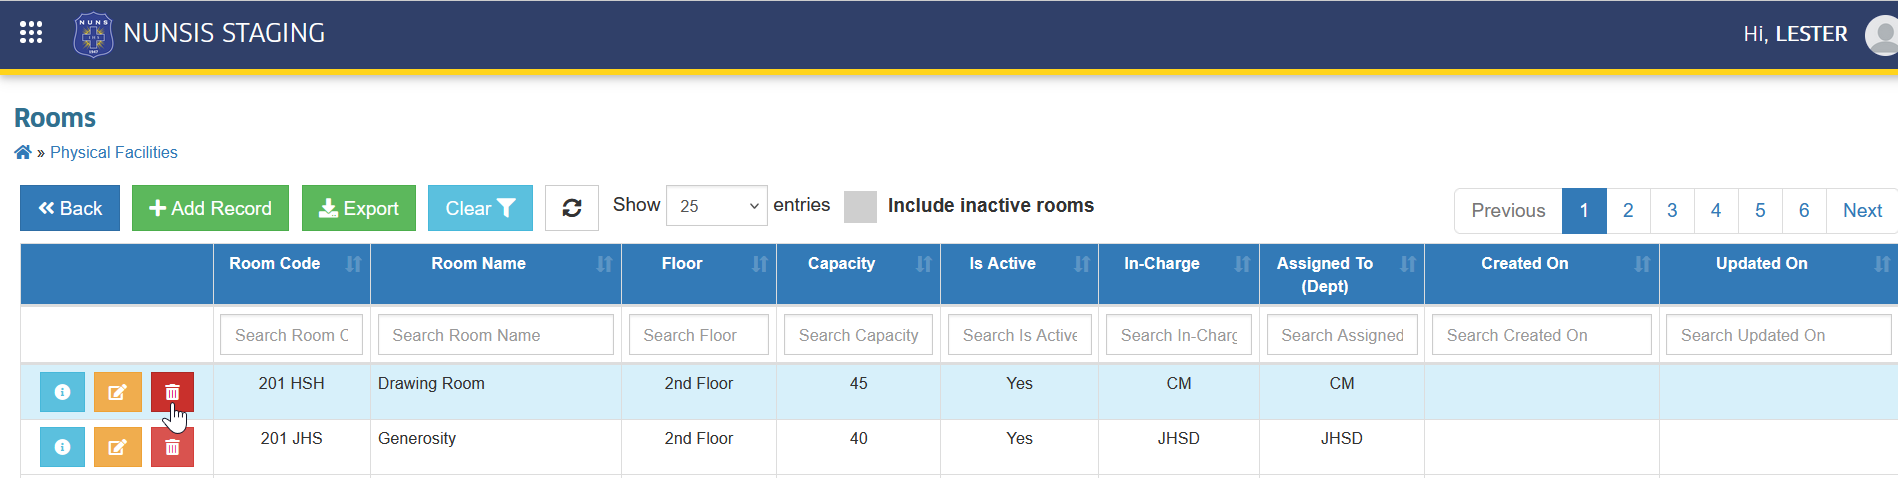
STEP 1. On the Room list view page, click the corresponding button of the room you want to delete. The system will be redirected to the Delete Room page.
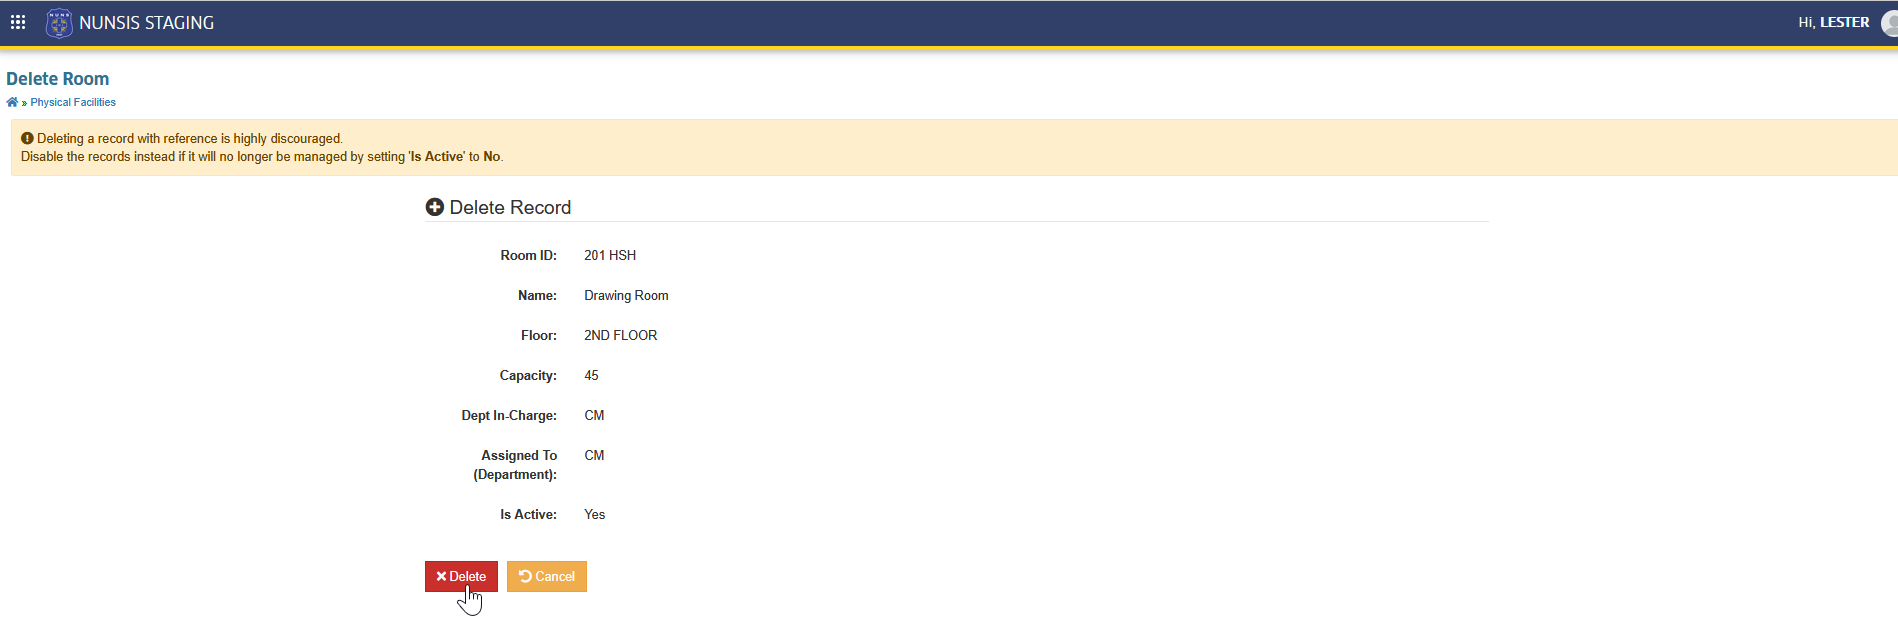
STEP 2. On the Delete Room page, click the button to confirm the deletion of the record.
-
Deleting a record with reference is highly discouraged.
-
Disable the records instead if it will no longer be managed by setting Is Active to No.
Export Rooms Record
Follow the steps below to download the room record for offline backup.
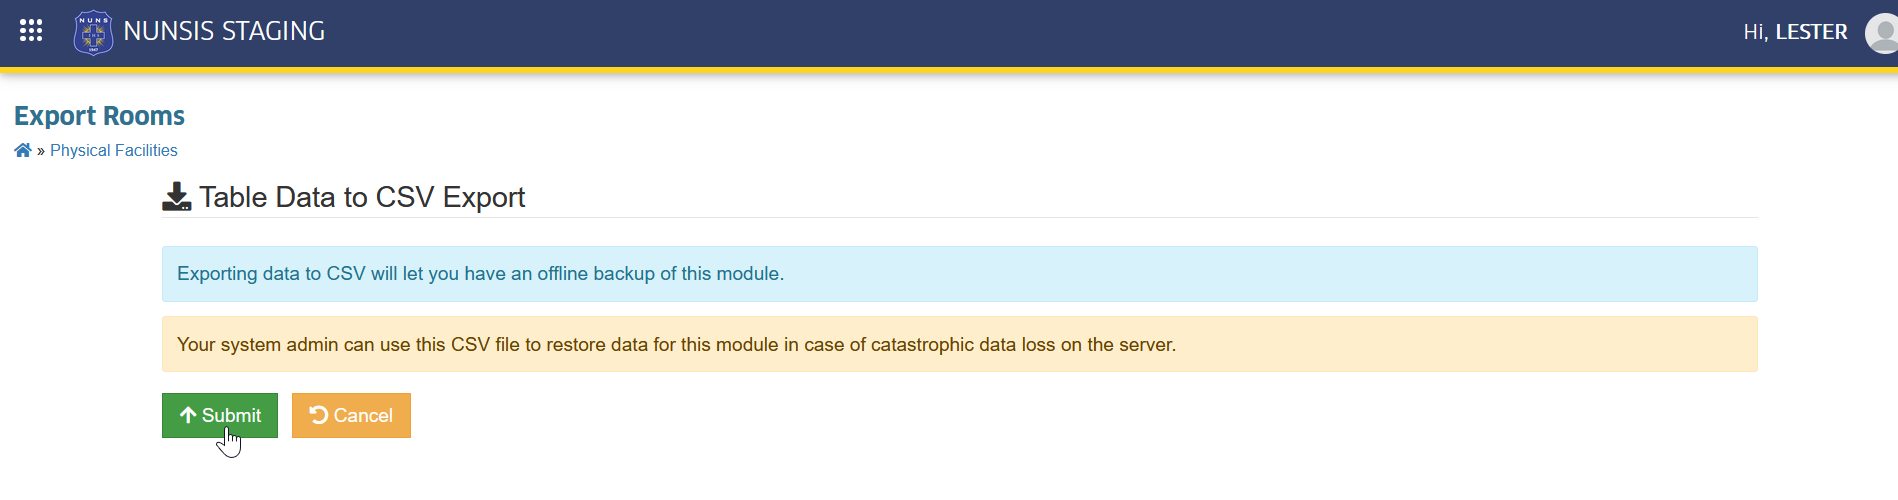
STEP 1. On the Room list view page, locate and click the button. The system will redirect to Export Rooms page.
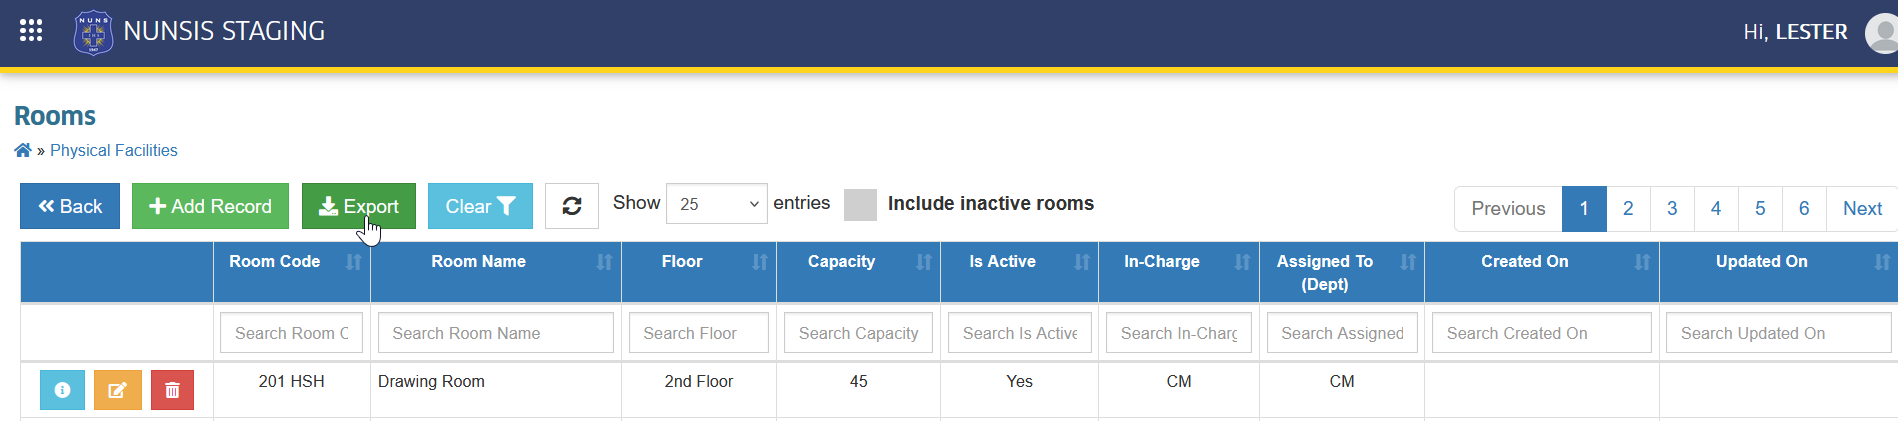
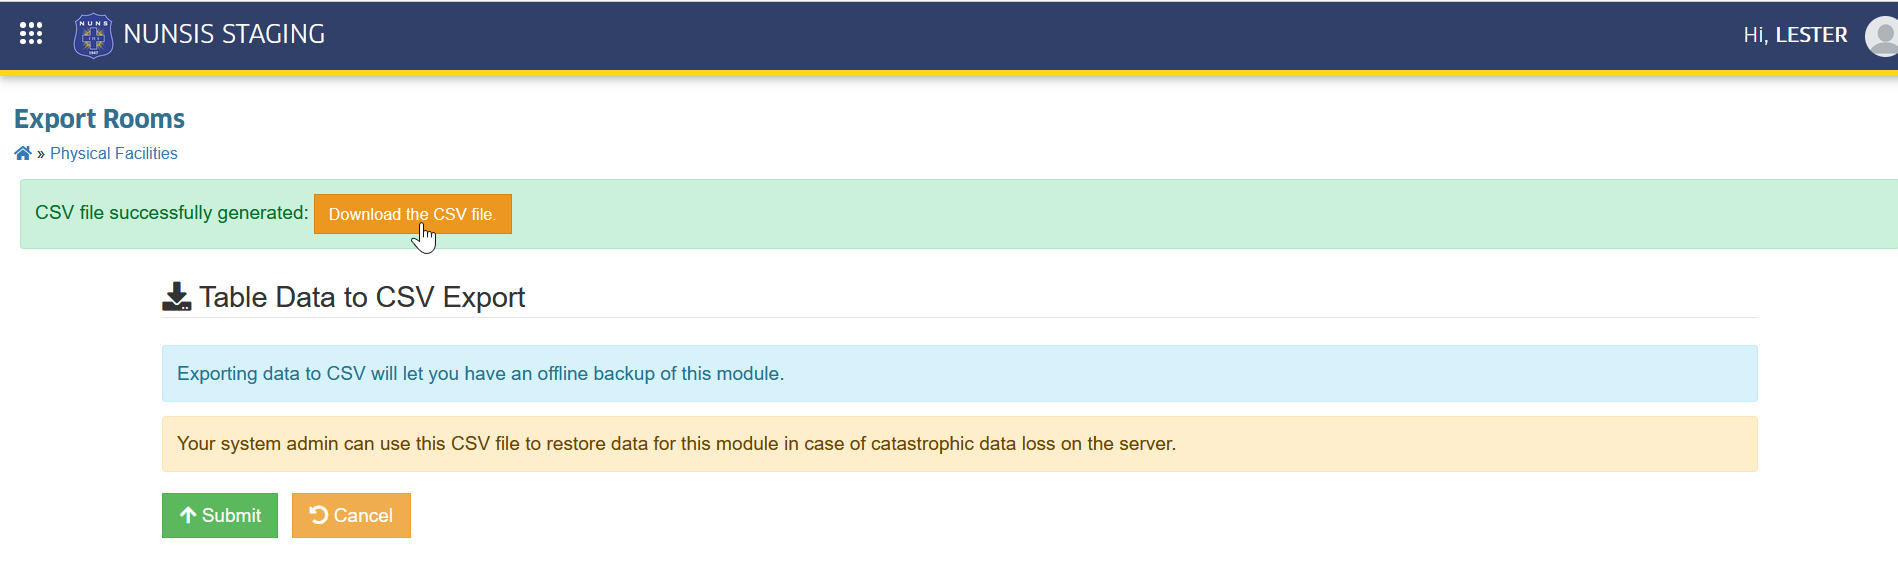
STEP 2. In the Export Rooms page, click the button. This action will generate the CSV file of the record.
STEP 3. Download the CSV File by clicking the button.
For more questions or concerns, email us at nu-desk@national-u.edu.ph